Development Blog Week 9 - Horror Level Design
Welcome back to Week 9 of my Horror Level Design development blog. This week I have been making additions to the level, including multiple different basic mechanics and cinematics (to compliment the level design). I have been adding to this element as the main blockout of the level has already been implemented, along with item locations and world events. Although I have made additions to first floor.
Firstly this week I have added more assets to 'clutter' the first floor, this helps to add more detail as well as a path for the player to follow.
I then placed the assets in the office rooms, including desks, lockers and chairs. I placed assets in both the main office and the side office room located on the first floor.
I then added a breakable wall in which the player is able to remove and crouch through. They can then access the key to the office room as the door to this room is blocked via a locker. This gets the player thinking and adds a puzzle element to the level also.
I then create a surprise element for the player when they walk into the female shower room. The 'creature' is located at the back of the room and will disappear when the player walks through the trigger box. This helps create fear as well as makes the player do a double take to make sure that they really just saw something in the corner of the room.
I then moved onto further implement cinematics into the main office located on the first floor. The player has to explore the room and then will come across notes that are located on one of the desks. This will then display the note on screen as a widget. After this a delay is present, it will then show the 'creature' twitching and will cut to black. Audio feedback will play and then teleport the player to the main entrance, in which they are forced to move to the front door due to objects blocking the hallway (moved by the 'creature')
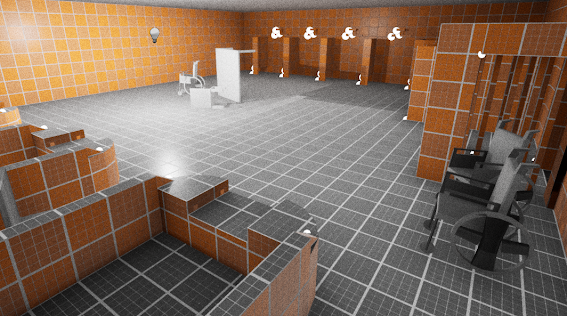
Once I was happy with the first floor I moved back down to the communal area as there were blockouts that I wanted to further expand upon. As a result of this I created a key box in which the buildings keys are located within.

The player is able to find the key box, open it and collect the key from the box. After that the door will close, blocking off the rest of the box. This will then allow the player to move to the staircase door.
After changing the interior of the building I started work on the exterior. I created a basic low poly tree model in which is placeholder for trees located around the asylum. I also create a custom road spline in which I was able to freely place a road.
After finishing the current work on the exterior I create a trigger box and a cinematic camera that will show the player leaving the asylum. Currently this cinematic is in development, however it will help to reinforce that the player is still being followed by the 'creature'.

Thank you for reading Week 9 of the development blog! Next week I will be working on implementing further changes into my cinematic and creating a seamless transition between the gameplay and cinematic elements located within. I will also be tweaking further assets and replacing any blockout elements that need to be changed.


Comments
Post a Comment